What’s a Gas Grill Model Number?

And How to Find a Model Number

When you look online for replacement parts, or call the friendly sales rep at GrillPartsSearch.com, the first thing you’ll need is your gas grill model number. Having been that friendly rep, I can tell you that if you don’t know what a model number is or where to find it, that makes you and about a million other people.

In other words, you are not alone.

Let’s define “model number.”

It’s the number or letters, or combination of the two, given to the exact style of your grill. This means there may be hundreds or thousands of the same model grill made and sold. This is the reason replacement companies use model numbers to sell parts. All the grill of the same model will use the same parts. Usually, there is a certain way each manufacturer uses a model number. The manufacturer Nexgrill has seven digit numbers that start with a 7 and are written like this: 720-0061, while Brinkmann starts with an 8 and look like this: 810-2700. Charbroil also uses all numbers but always starts with a 4 and is nine digits long – 463240904.

Now, buckle up because it doesn’t get more simple from here. There are also a lot of manufacturers that use letters in their model numbers as well. A very common one is Member’s Mark. Their model numbers look like this: Y0202XC.

That’s basically how model numbers are structured. Every manufacturer uses a different system so they always know exactly which grills are theirs.

Do you see a LP or an NG hanging off the end of your model number? Nothing to worry about, that just denotes the kind of gas your grill uses. LP stands for Liquid Propane while NG means Natural Gas. Sometimes the LP or NG is a part of the model, sometimes not.

So, how do you find this model number? That’s a little trickier.

  • First, try looking on your original owner’s manual. Usually the model number will be listed on the bottom of each page.
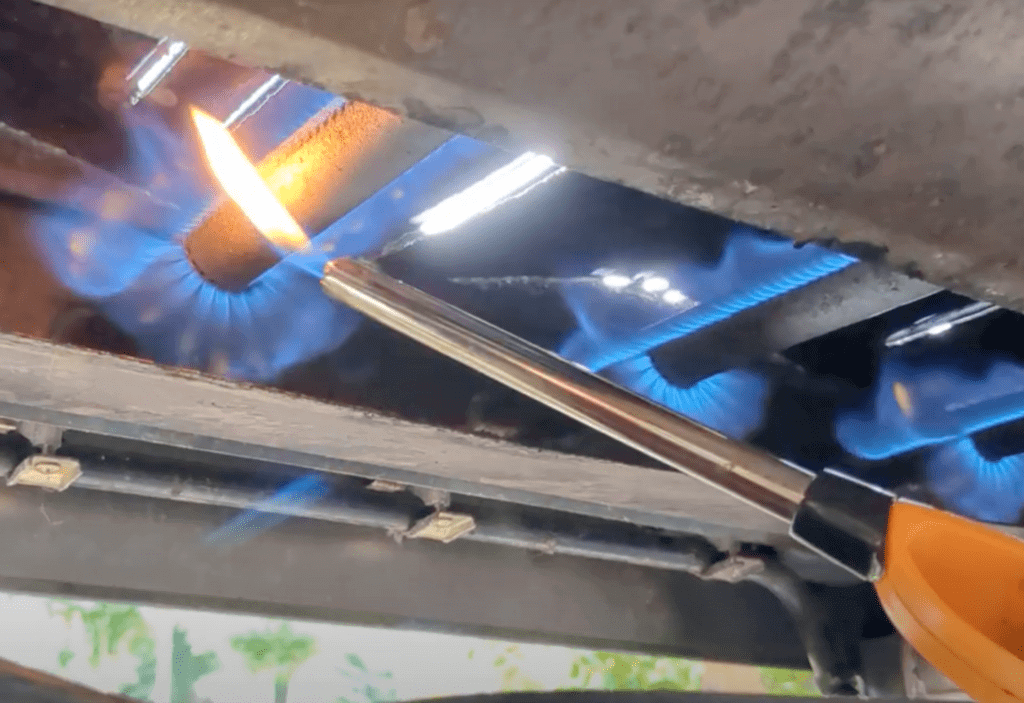
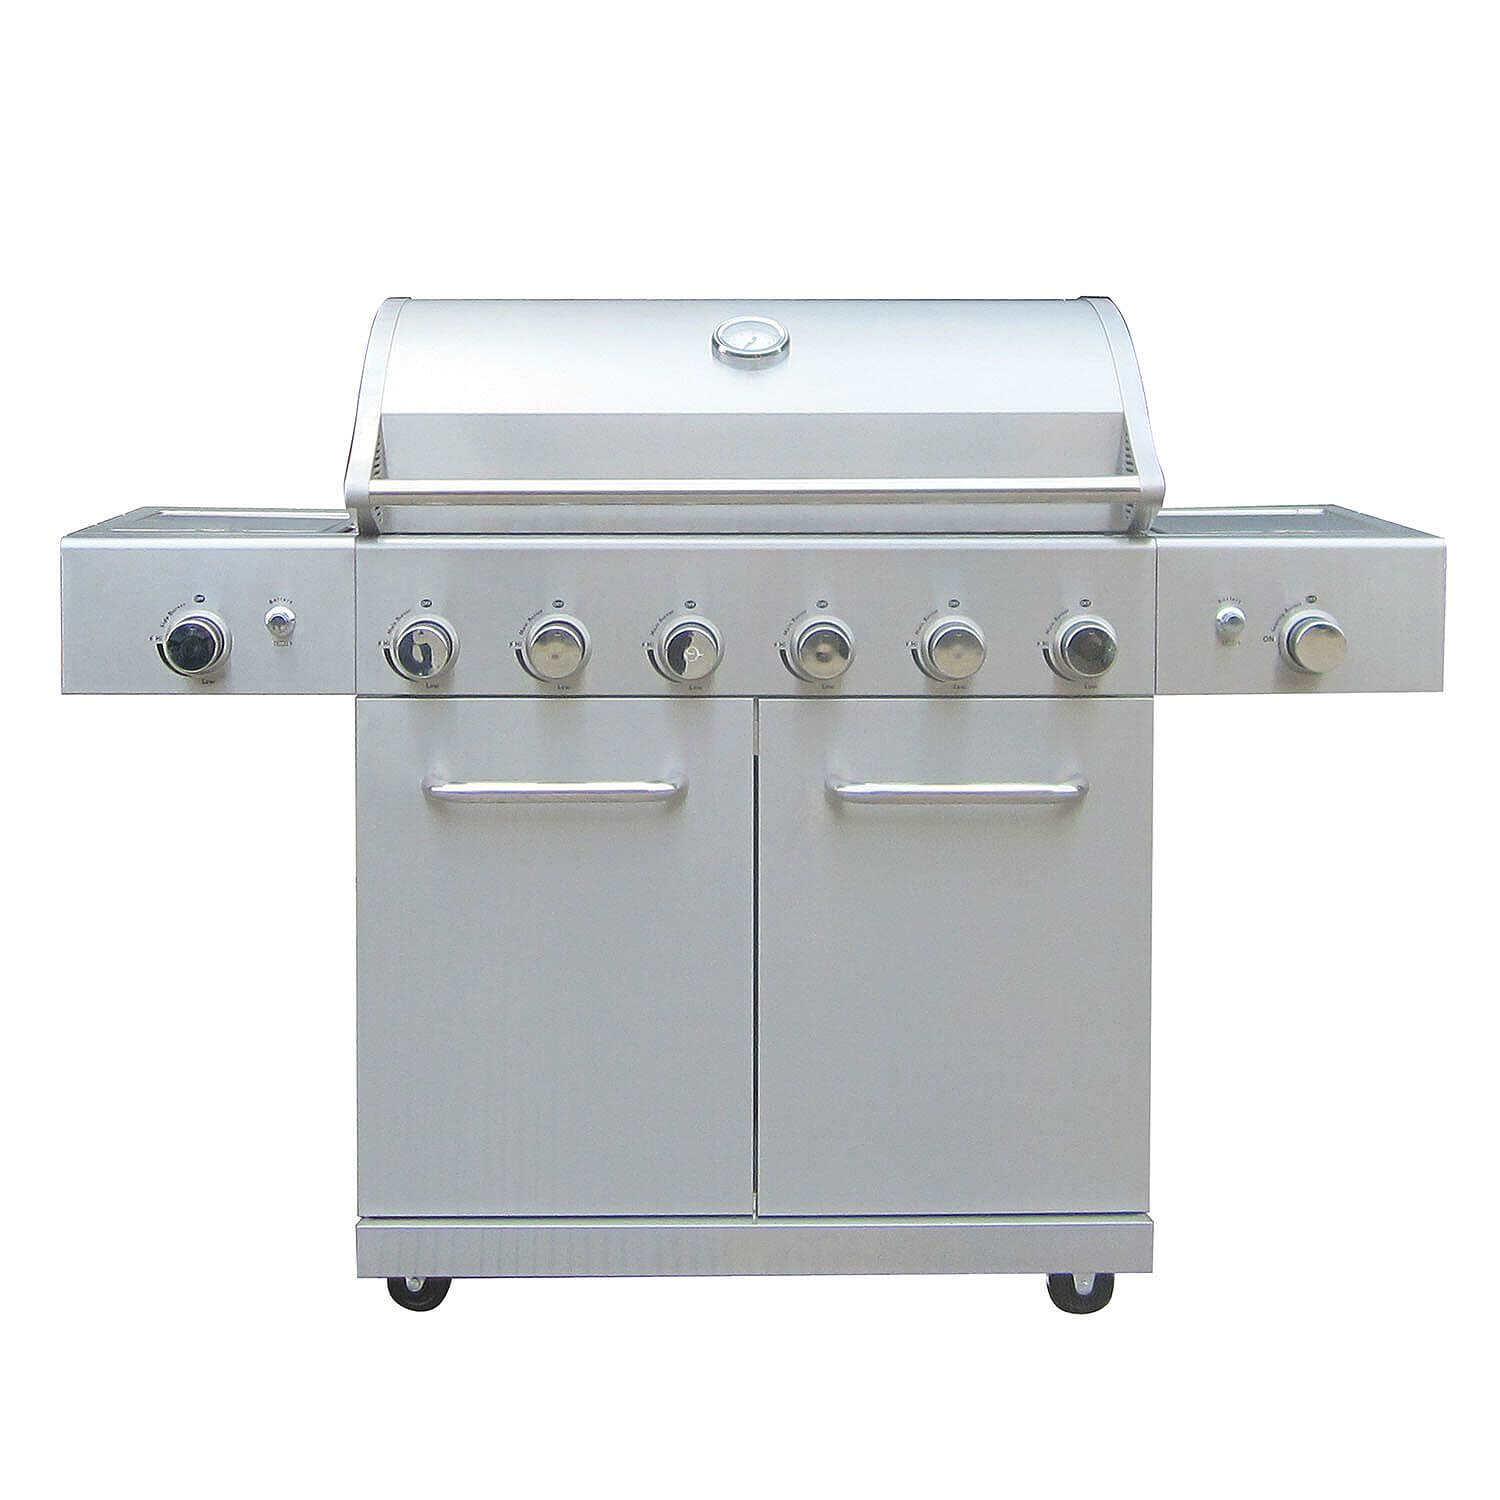
    (I know some of you are looking at the screen in disbelief at the idea you’d still have that old grill manual. Ok, read on)
  • Some grills have small metal plates or labels with certification information on them, including your model number. These plates are usually on the back of each grill.
  • Can’t find it on the back of the grill? Did you look down really low? Try inside the door, on the side of the control panel, under the control panel.

You found a serial number!? Yahoo!!! That’s not the same as a model number and no one lists parts using serial numbers. Sorry. Keep looking.

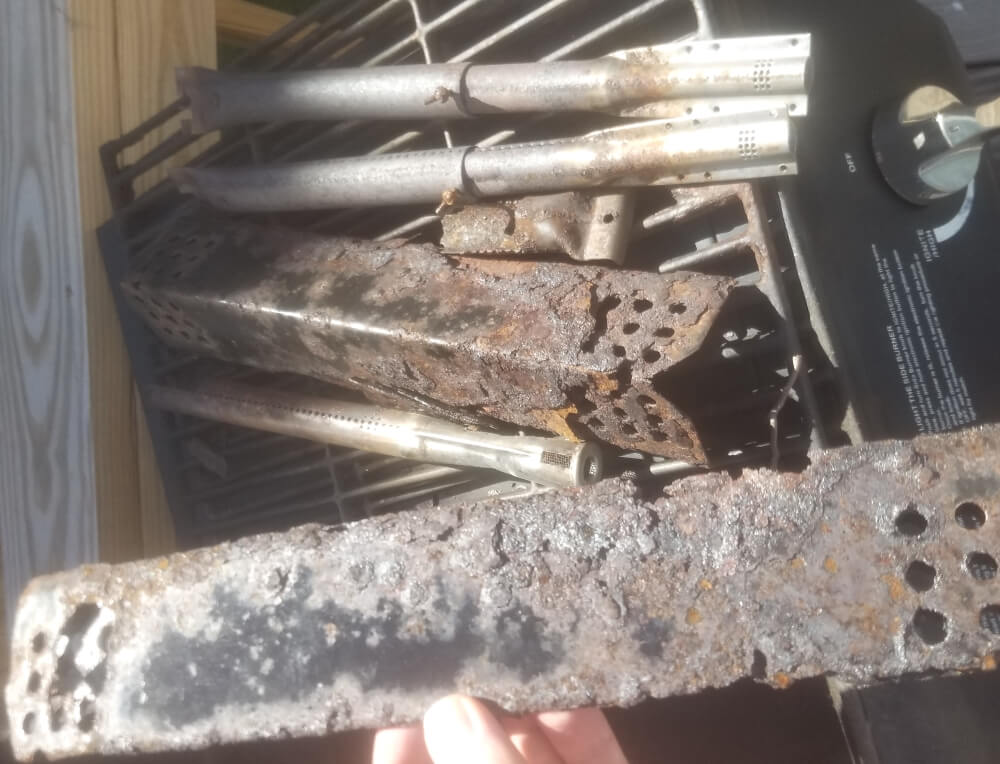
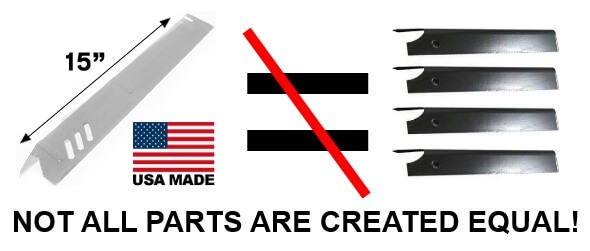
Still nothing? Or you found it but can’t read it? Well, that’s alright. You don’t have to dump your grill yet. Just measure the parts you need to replace and call 678-272-2451.

Someone will help you.

Stay tuned for tips to get accurate measurements and therefore, THE RIGHT PARTS!!

Toodles. -GG

Originally published Oct. 1, 2012.

What If The Grill Doesn’t Light?

What to do if your gas grill doesn’t light but it’s time to party!

Is your gas grill ignition button not working? Is the grill igniter clicking but not lighting? No worries and no need to cancel that party or BBQ dinner– you can safely light your grill even if the ignition system in your grill isn’t working!  Use a long-stemmed lighter to light each burner one by one. Just be sure to do it safely by following these steps.

If your ignition is not working, you can still light your gas grill using a lighter. A gas grill ignition malfunction is no reason why you shouldn’t be barbecuing burgers, hot dogs, shish kabobs, or whatever you and your family and friends enjoy today!

If you’re looking to repair or replace your gas grill ignition system, check out our vast list of ignitor parts or get in contact with one of our grill experts to help troubleshoot your problem!

What To Do If The Grill Doesn't Light

1. A Long Stemmed Lighter Is Safer to Light A Gas Grill

You don’t have to be a hero to be a hero. 

For safety’s sake use a long stemmed lighter for candles, fireplaces, and grills, like a BIC Multi-Purpose Classic Edition Candle Lighter with the long metal wand. That way you don’t have to put your hand and half your arm into the grill to light the flammable gas from your grill’s tank.

The great thing about this solution is how accessible it is. If you’ve got a suitable lighter on hand, then use that, but if not, you won’t have to wait around for a new grill part to get dinner ready. A quick run to the convenience store will save the day. 

2. Turn The Burners on One at A Time to Light Them

If the ignition for one burner isn’t working, in most cases grillers find that they aren’t working for the other ones either.

Always begin by opening your gas grill lid. This will help to allow gas from the tank to dissipate in the air. If gas builds up in the grill chamber before you go to light it, there is a risk of injury from a flare up.

Turn the first burner on and put the tip of the lighter next to the burner keeping your hand. Additionally, keep the rest of your person and anything flammable away. Be careful as you use the lighter to let them, and be sure to turn on and light each burner one-at-a-time to avoid gas buildup in your grill.

3. If The Gas Grill Burner Doesn’t Light on Your First Try…

There might be something more than the gas igniter that’s off. It may be that your fuel tank is low or the hose or some connection in your setup is failing. Before you look for the issue and go to replace any of your grill parts, you may want to try again and see if you can get it to light.

If you try to light your grill again, just be sure to leave the grill lid open and let the chamber air out some before making another attempt with your long-stemmed candle lighter.

Safety Note to Grillers: Your safety is your responsibility. Never use a gas grill indoors. Always light your grill with the hood open. If you smell gas, or have trouble lighting your grill, turn off all gas sources and wait 15 minutes before trying again.

Watch Grill Parts Girl explain it instead on our youtube channel!

If you have more questions, leave us a comment! Or, take a minute to go visit our Youtube channel and learn more about your grill. We would love to connect with you there!

Happy Grilling!
-The Grill Parts Girl

What’s the Deal with Stainless Steel?

Original Publish Date 02-15-2013

stainless steel

There’s a lot of disappointment floating around when it comes to one material currently on the market: stainless steel.

The two main issues are:
1) Why does my “stainless steel” rust?
2) Why is my “stainless steel” magnetic?

I put stainless steel in quotation marks because that’s how most people would phrase the questions. If either of the two above things were accurate, our customers would believe their item must not be stainless steel…

Right?

No, actually that’s not correct. There are different grades of stainless steel and they all act differently when introduced to either heat or water. In our grilling cases, that would be BOTH!!!

To clear it up, the General Manager at GrillPartsSearch.com has written up a guest blog explanation.

Take it away Will!!!

There are two general series of stainless steel grades used in the gas grill industry: 300 series and 400 series.

The 300 series group of alloys are non-magnetic and the basic 300 alloy contains 18% chromium and 8% nickel.
The 400 Series group of alloys are magnetic and the basic 400 alloy contains 11% chromium and 1% manganese. This series offers a much lower cost option in stainless steel parts.
-The 300 series is subject to corrosion at crevice points, while the 400 series has a considerably lower resistance to corrosion in general.

Knowing that, we choose the parts we sell to our customers very carefully! We try to gain as much information as possible about the grades of stainless steel we offer our customers so we can help them know what to expect from the parts they purchase.

Here’s how that information translates in grilling terms:

Cooking grids are exposed to more liquids and less heat, compared to other parts in a grill. In the case of cooking grids, the extra expense of the 300 series can be worth it. 300 series stainless is less prone to rust but the less than ideal conditions inside a grill will definitely degrade even the highest quality stainless steel. 304 is the most common type of stainless steel in the world, while 316 is generally the highest grade stainless you will find in ordinary applications, and both will degrade in a grill. While we used to carry a limited few grids made from 316 series stainless steel, manufacturers of grill parts worldwide have slowly removed these offerings from their lines of parts. We no longer have any 316 series grids, but carry multiple 304 series grids. You can check them out here and view by material type.

As for burners and heat plates, they certainly are exposed to moisture but are exposed to much more heat.

Heat is just as much of an enemy to steel, if not more so, as moisture and oxygen. Heating and cooling are used in the production of metals to actually change the chemical/molecular bonds and subsequent performance of the metal. It is no different inside your grill. While 300 series stainless will technically last longer than a 400 series plate of equal thickness, the benefit is only marginal. That marginal benefit compared to the substantial increase in cost doesn’t really pay off. We have found by spending a little more to make the plate out of a thicker 400 series stainless, you gain close to the same amount of life you would get out of a 300 series product at a fraction of the cost.

If you ever have any other questions about stainless steel or the applications of such in your grill, we’d love to help!

Just give reach out via email [email protected], phone 678-272-2451, or this helpful form!!!

Thanks so much Will!!!

That’s all for now,

Happy Friday!

-GG

Photo by Yender Fonseca from Pexels

Visit GrillPartsSearch.com’s profile on Pinterest.

What is a Drip/Grease Tray/Pan? Where can I get one?

What is the bottom part of the grill called?

The bottom of the grill is called a grease tray / drip pan. It is a separate part in some grills that catches the grease and drippings from the delicious food you cook on your gas grill. If you have a little cup that catches all the grease, that is called a grease cup and count yourself lucky. They are easier to empty, clean and replace than an entire grease tray.

What is the bottom part of the grill called?

Example of a Grease Tray / Drip Pan

After a few years of use, a lot of grill owners find the grease tray / drip pan is rusting and failing to do its job. This results in greasy gas tanks and become a fire hazard. So, what to do? Easy – replace it. Right?

HOW CAN I REPLACE THE GREASE TRAY / DRIP PAN?

To see if we have a grease tray / drip pan for your gas grill, visit GrillPartsSearch.com, 1. Enter in the brand and model of your grill. 2. Press GO.

We now have a number of styles available. This is because you called us and let us know what you needed! Our response was to inform our suppliers and get the parts made.

We sell a variety of drip trays for Dyna-Glo, Member’s Mark, Vermont Castings and more!

Dyna-Glo Drip Pans:

We have nine different Dyna-Glo grease trays. Find which size works for your gas grill.

SIZE SKU
15-1/4″ x 28-5/8″ GPDP70011
15-13/16″ x 26-7/8″ GPDP70012
15-3/8″ x 20″ GPDP10404
15-3/8″ x 33-1/2″ GPDP70013
16″ x 26-1/8″ GPDP10604
16″ x 28-1/8″ GPDP10504
7-1/8″ x 19-1/4″ GPDP10204
7-1/8″ x 26-3/8″ GPDP11304
7-1/8″ x 30-3/8″ GPDP15304

Member’s Mark Drip Pans:

We have two different member’s mark grease trays:

Vermont Vastings Drip Pans:

We have four different vermont castings grease trays:

If you need a different part than the ones listed above or are in a jam, here’s our best suggestion: You MAY be able to line your original rusty grease tray with one of those aluminum baking pans from a local grocery store. The cost is low and they are easy to find and manipulate into place.

Good luck, and remember, if you need any burners, heat plate, cooking grids, accessories….contact us!

PHONE: We’re open 9:00 AM – 5:00 PM, Mon-Fri EST. Call (678) 272-2451
CHAT: On the bottom right window, chat with us online 9:00 AM – 5:00 PM, Mon-Fri EST
EMAIL: We’ll get back to you same or next business day.

Happy Grilling!!!

-GG

Dyna-Glo Drip Pan Grill Part Replacement

Grill Girl shows how to use a drip pan liner to replace the entire drip pan (or grease tray) in a Dyna-Glo DGF493BNP (also works in DGF493PNP).

Drip Pan Liner

**PLEASE NOTE: This is not an exact replacement. Grill Girl demonstrates how to use a less-expensive alternative as a replacement part for your drip pan/grease tray. Use with caution, be aware of over-heating and grease build-up. OEM replacements are available for sale at a higher price if you are looking for that instead. All replacements or upgrades made by you to your own grill are your responsibility.**

About the Dyna-Glo DGF493BNP & DGF493PNP

Hey Y’all, Grill Girl here. I have this brand new Dyna-Glo gas grill and I wanted to show you how to use one of our new drip pans liners on it. This is a four-burner gas grill. It has four heat plates and three cooking grids.This specific model is a DGF493BNP but there’s also a DGF493PNP. You can see in the video that sadly, it already has some signs of rust on the grill. This grill model has a lot of problems with rusting out of the grease pan or drip tray. So I wanted to show you today how you could easily replace that with one of our liners we just got available.

We’ve had so many calls about this Dyna-Glo drip pan. We strive to provide you with the parts you need to get back to grilling! Here’s what we learned.

The Dyna-Glo Original

These specific models are propane grills and you can access the original pan from the back of the grill. Easily lift and slide the pan out. The piece in the video is brand new and still looks like it’s in really good shape. There is also a little tray at the bottom that catches the grease. This design allows you to remove that and clean it out.

Even though the part is new, as I push down on the original pan with my thumb, it bends and flexes. This shows that the pan is not made of thick metal. Instead, it’s made of a pretty thin piece of sheet metal. The low quality of the pan is why they rust out so quickly. We have so many calls about this from customers like you.

Using a Drip Pan Liner

For this model, I replace the entire pan with a drip tray liner. I bent out the side a little bit to make it catch in the current slot for the original pan. It slides in and covers the entire bottom of the grill. It was really nice that these fit so well in the Dyna-Glo grills.

However, if you have an existing pan that is either smaller or larger than this, you can still use a liner. Get a the closest size of the drip pan liner to your original pan and place it in the bottom of your grill. Be sure to cover any holes in the original and you’ll be able to continue cooking with the current pan you have.

Cleaning the Drip Pan Liner

Because these liners do not have a hole where the grease drains, all the grease collects in the liner. It is very important to check the liner for grease build up. Take it out every couple of times you cook and clean it. Then, simply put it back in again.

Here to Help You

We’re hoping that this will provide a good solution at an affordable cost. As the drip pan liner gets old, corroded, or filled with grease, you can easily switch it out for a new one. That way you don’t have to throw out your whole grill just because of one part.

Please remember that we also sell exact-fit Dyna-Glo drip pans as well as drip pans and grease trays for many other models.

Let us know if this helped you! What other parts do you need to fix up your grill? Until Next Time, – Grill Girl

Nexgrill Grillmaster Before & After

Grill Girl Here! Today we have a special post inspired by one of our customers!

He purchased a Grill Master  grill made by Nexgrill off a craigslist ad for just $30! It needed almost all new parts and so he came to us. He purchased brand new burners, heat plates, and cooking grids and is cooking with an essentially new system! That is an awesome way to save some money and get a great grill on your back porch – not to mention the fact he kept this grill out of a land fill.

Burners, heat plates, cooking grids   Used Grill Master Burners Heat Plates Cooking Grids Nexgrill

In the pictures above you can see the old parts. There are rusted burners, heat plates and the old cooking grids. One of the burners had a big hole in it, so our customer decided to replace all three at the same time. You can also see that the heat plates were very rusty and the holes were starting to get bigger. These heat plates probably weren’t protecting the burners very well. Whenever one of our customers buys a used grill, I always suggest getting a brand new cooking grid. Who wants to cook on top of someone else’s old food? Yuck.

Grillmaster by Nexgrill Tube Burner BMGKTB1  Grillmaster by Nexgrill Heat plate GMNGHP1

Here are the new burners and heat plates. Don’t they look so great? Both of these parts are stainless steel and when they heat up for the first time, they will get some discoloration from the heat. Still, the both parts are an exact fit, plus the heat plates are fully stainless instead of the original porcelain coated steel plates that were in the grill. This is an example of how you really can upgrade your grill by purchasing new parts from us!

Grillmaster by Nexgrill new parts fixed

Here is the final shot of the grill before it was used for the first time. Lookin’ Good!

Congratulations on your rebuilt grill! We love helping customers do projects like this. Thanks for sending us the pics!

-GrillGirl

Hot Names in the Grill World

Hey Y’all!

Grill Girl here! The sun is starting to melt that snow all across the country and I’m back, ready to fill you in on what you need to know as you start grilling in 2017!

Throughout the winter, I spend a lot of time researching the most popular grill models from the previous year.  This helps me make sure our website is up to date and ready when you come looking for parts and accessories. Here are some of the most popular names that you may have heard of, or even have on your back deck!

BACKYARD GRILLOutdoor Backyard Grill with Stainless Steel Head and Black Cabinet Doors. Grill has 5 Main Control Knobs and 1 Side Burner Knob.

These grills are sold at Walmart and Walmart online. With the majority of these grills falling between $100 and $200, they have been very popular since about 2013. The model number system begins with the letters BY, followed by a 2 digit number that seems to correspond with the year the grill was sold. Those first four digits are followed by 8 more numbers that are unique to each grill. For example, BY13-101-001-12 was a popular model from 2013. Some of the popular more recent models include BY14-101-001-01 and  BY16-
101-002-05. The grills have 3-5 burners and a large cooking area, but at such a low price point, the quality of parts and material is low. The good news is that there are already replacement parts available for these grills and the knowledge base is growing. You might need to start replacing parts in the first one to two years, but you should be able to find the parts you need to keep your Backyard Grill on your deck or patio!

MEMBER’S MARK GRILL

Stainless Steel Member's Mark Stand Alone Grill with 8 Knobs, 2 Side Burners and Cabinet Doors.This is the store brand sold at Sam’s Clubs. Grills with the Member’s Mark name have been popular for the past decade and many have lasted for that long! The best-made Member’s Mark grills were made in the early 2000s with cast iron burners. Those older grills had model number that looked like this: Y0101XC. However, grills being sold in the most recent years have long stainless steel tube burners. This is a pretty common grill style in the past few years, and while they don’t usually last as long as cast burners, they are pretty easy to replace. More current models are made by a different manufacturer and some have models that mix letters and numbers like this: M3206A or a series of all numbers like this: 720-0586. With a price point between $300-$500, you can expect a Member’s Mark to be made to a higher quality in both parts and material. These grills should give you at least 2-3 years before you need to start replacing parts. Even so, we carry burners, heat plates and cooking grids for a large variety of Member’s Mark grills and even have some grease trays available for older models.

MASTER FORGE GRILL

Master Forge BG179A Gas Grill Main Piece of Modular Outdoor System. Stainless Steel Grill with Six Knobs and a Side Table.Master Forge is the branded name for grills and other appliances sold through Lowe’s. It makes it difficult to find support because Lowe’s has different manufacturers for different kinds of machines. That being said, Lowe’s has had a huge variety of manufacturers make these grills with the name Master Forge and likewise, a pretty big discrepancy in quality. You’ll see models of all types from Master Forge. Some of the most popular have been 2518-3, MFA350,  or SH3118B. Another of their most popular and long-standing models is the built-in modular grill BG179A. Master Forge grills seem to be pretty well built, however, when you look at a modular set up like the BG179A, the cost is between $1000 and $1200, it’s good to keep in mind that you can buy a lot of other brands in that price range that have a better history of customer support and quality. Of course, after you spend the time and money of installing a built in grill, you want to keep it running. We are working very hard to have the parts you need to keep these grills working year after year!

CHARBROIL GRILL

Charbroil Gas Grill Front PanelCharbroil has been making grills for decades. You can expect a mid-line price point and a mid-line quality from a Charbroil grill. They make a much larger range of grills to cover basically any price point you can afford. Charbroil’s less expensive grills don’t seem to sacrifice quality as easily as other brands. Instead, you’ll find the cheapest Charbroil grills have only two heat zones with smaller cooking area. The more expensive grills will provide increasingly more burners and space. Every year Charbroil comes out with a wide variety of grills spread across dozens of new models. Charbroil is always looking to provide the next innovation in grilling as well. They add flashy ideas and branding to make their grills seem like they have an edge over “regular” grills. My suggestion here is simply to do your homework. Grilling is grilling. It doesn’t need bells and whistles or flashy marketing gimmicks. To give you an example of this; their newest electric smoker corresponds with an app for your phone! In my grill girl opinion, that seems to take the fun out of it. 🙂

What do you think? Do you have any of these grills on your deck? Maybe you love the idea of using a smoker with a phone app. Feel free to leave comments or questions below!

Happy Grilling!
-GrillGirl

July Fourth Gas Grill Checklist

Are you grilling on a gas grill for the Fourth of July this weekend? Do this checklist TODAY:
1 – Remove and inspect the cooking grids and heat shields. Excessive rust or holes in these parts warrants replacing them!

Rust on the surface of your cooking grids, the area where you place your food, is gross at best. If you have a lot of rust or deterioration, get a new set! It’s amazing how a new cooking surface can affect your grilled food. Additionally, holes or excessive rust on the heat plates (heat shields, vap-o-riser bars, flavorizer bars, etc) can impact how the heat in your grill cooks your food. If you want an evenly heated grill, you need to have this system in good working order!

2 – Check the level of propane in your tank. Nothing dampens a party like running out of fuel.

You know you don’t want to have to leave your party to search for a new gas tank so you can finish cooking everyone’s food! If you have your grill hooked up to natural gas, of course this doesn’t apply to you. It’s easy to check the level of gas in your LP tank. Get some warm water and pour it over one side of the tank. The fuel inside will absorb the heat from the water, so when you run your hand down the side of the tank, it will feel warm and then cool. Wherever the tank starts feeling cool, that’s where your fuel level is. If it’s close to the bottom, go ahead and pick up an extra tank before your party!

3  – Before you put the other parts back in, visually inspect your burners (without removing them). Light them up using your ignition system. Are they burning evenly? Is the flame blue at the base?

You’ll want to make sure you don’t have any large holes or ares of flame coming out of your burners. If that is apparent, it is definitely time to replace the gas burners. More commonly, you will notice low areas of flame. If a visual inspection does not reveal any damage to the burners themselves, you may need to replace the regulator and hose that bring gas from the liquid propane tank to your grill. The regulator usually closes down over time so you will notice your grill heating up less and less. The good news is it’s an easy fix and definitely something we can get to you in a few days!


And if you have any questions at all, give us a call! We want to make sure your party is a success (but there is very little we can do the day before to help).
877-244-0737

Happy Fourth! -Grill Girl

It’s Warm(ER)! Go Grill Something!

Hello fellow grill fanatics and welcome to the first warm breath of air in 2015! Was this weekend not beautiful!?

I cannot wait to get our grill back into working order for the Spring and Summer seasons! Did you know that right now is the best time to pull out your grill and check it for working parts?

Keep the grill you love in your backyard and out of the landfill this year by replacing the old parts instead of the whole grill! You will save money and, in many cases, end up with a grill that works better than ever!

Here’s your checklist for Grill Spring Cleaning:

  1. Remove cover (carefully) and make sure there are no bugs who used it as their cover over the winter! Don’t have a cover for your grill? You should definitely get one! Covering your grill will help it cook better for longer!
  2. Look on the back of the grill for a model number. This will help immensely as you look for replacement parts on the internet.
  3. Take the cooking grids off your grill and inspect them. Your grid could be cast iron, steel bar, or stainless steel and coated in a variety of things. It might be hard to determine any of that if you have rusting or other corrosion. Clean the grids with a Brass Bristled Brush. If you notice a large amount of rusting or any breakage, put them on your list to replace!
  4. Under the grids you’ll see some system that covers the actual flame of the grill burners. This could be metal heat plates, shields, angles, or another grate that holds briquettes. Drippings and the heat of normal grilling will cause these to discolor and corrode. Since your food doesn’t go on these directly, you don’t need to worry about rust. However, if your heat plates have large holes, are breaking or if your grates don’t hold up the briquettes, it’s time to replace those as well.
  5. Remove the heat plates or briquettes and you should be looking down on the burner system in your grill.  With the hood open, light your grill. The burners should each light up and produce a consistent blue flame all along the outside of the burner. If you have any extra large flames, yellow flames, or burners that don’t light fully, you should may need to replace the burners. Any large holes or major corrosion is cause to replace these pieces. If the burners look great, but you’re not getting enough flame, it could be your gas source, valve or regulator.

Call our customer service to help you today! If you can’t find your gas grill model number, measure the parts you need to replace. Our phone number is 877-244-0737.


And as always – Happy Grilling! –GG

Is That a Set?

Quote

One of our most frequently asked questions is whether we sell products in sets or individually. Most of our products we sell individually. You can always look at the picture though, if you’re not sure. If there’s one in the picture, they are sold individually. If there’s more than one in the picture, it’s a set.

Here’s one of our sales reps, Cadarius, on the how he explains it to customers:

Customer: I’m looking to buy some heat plates for my grill. Is the price on your website for a package of 3?
Cadarius: The price on our website is per piece, we sell those heat plates individually.
Customer: Well that’s a little much for one.
Cadarius: The price of our products might be a little higher than the prices you see from competitors or on Amazon. The reason is because the majority of our heat plates are stainless steel and made is the USA. This means they will last longer and perform better than the porcelain coated heat plates or lower quality steel plates you might find elsewhere.

quality, parts, grill parts

The main take-away here? You get what you pay for – and also, you get what’s pictured.

As always, if you have any questions, just call!!

-GG