Why Isn’t My Grill Getting as Hot as it Used to Get!?

Why isn’t my grill getting as hot as it used to get?

This is one of our most frequently asked questions.

For starters – is there gas in your tank? Check that first. 🙂

Once you know you’re cooking with gas, if you use propane (aka LP), the answer is almost always one of the easiest and cheapest things to fix : your gas regulator. Regulators go bad over time, slowly shutting down the amount of gas getting to your grill. That’s why it might not seem like something “broke” all the sudden, but there’s still an issue with the heat in your grill.

Gas grill liquid propane regulators (they fit on those 20lb tanks you buy/trade at grocery stores or gas stations) are a standard part. That means, in almost every case, you can use the regulator we sell for the grill you have. (If you’re not sure, give us a call)

Here’s the standard one-hose-fits-most grills regulator:

Gas Grill Regulator Grill Not Hot Enough

Does your grill have two hoses? or a place the the hose goes into a Y shape? We have that too!

How about a really big grill with 4 or more burners?

Or a grill that needs an extra long hose to reach to where the tank sits?

When you order this part and it arrives, you can simply unscrew the old regulator from your tank and your grill. Then screw on the new regulator to your grill and your tank.

See? I told you it was easy to fix.

Why not just go get a new one at a big box store? Well, not all parts are created equal, and we strive to supply the best quality available. We stock regulators in high quantities, so they should always be ready to ship out as soon as you place your order. If they aren’t, you’ll see that listed directly on the website.

We’ll save you a trip now by sending this part directly to your front door, and a trip in a year, because our parts outlast the generic ones sold at big box stores. (More questions about regulators? Read this post)

Still having issues with the heat in your grill? Check out this page for valve information.

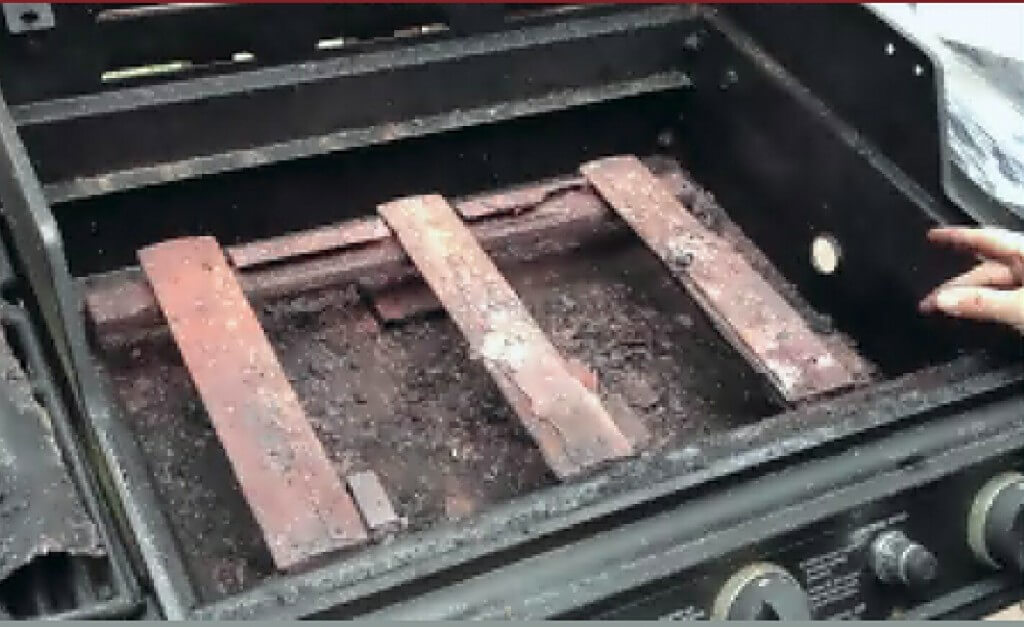
It might be your grill burner.

And as always, if you have ANY questions give us a call! We specialize in Great Customer Service! 877-244-0737

-GG

How Do I Replace My Gas Grill Rail Burner? – with video

Hey Y’all!! Grill Girl here! Today, we’re going to be changing the gas grill rail burners on a Brinkmann Pro Series 2400.

This blog on replacing gas grill rail burners updated June 2021. Call us for help with your grill 678-272-2451!

This how-to video will relate to any brand of grill that uses cast iron rail-type burners, like the one in this photo:

Grill with Rail-Style Burners

Gas Grill Rail Burner Replacement

  • The first step to replacing your old grill burners is to remove the cooking grids and heat plates covering your burners. Once you have done that, your grill should look similar to the one in the above photo.
  • Remove the hitch pin from the burner bracket to loosen the burner itself.
    **The hitch pin connects the burner to the burner bracket to holds it in place. It feeds through a little knot on the underside of the burner. The easiest way to remove it is by using needle nose pliers.
  • Now the burner is free at the back end, but still connected through the steel plates in the front of your grill.
    **In the case of rail-type burners, the burner is not attached to the valve, it simply fits over the valve. The valve system is right behind your knobs on the front of your grill, so if you want to make sure there’s nothing else connected to your burner, you can kneel down and look under the knobs and face plate of your grill. You’ll see the burner fit over the valve.
  • Once nothing is holding onto your burner, lift up the back end and pull!!!
    **It’s okay to use a little force. I had to!! This is a gas grill we’re talking about here, not a china cabinet.

**IF YOU DON’T KNOW WHICH GAS GRILL RAIL BURNER YOU NEED AS A REPLACEMENT, YOU CAN MEASURE IT – NOW THAT YOUR OLD BURNER IS REMOVED, YOU CAN MEASURE THE ENTIRE LENGTH AND WIDTH OF IT.**

  • With your brand new burner in hand, slide the venturi, or tube-looking, end back over the valve at the front side of your grill.
    **Make sure to guide the tube over the valve of your grill. You may have to kneel down again to make sure it fits over properly. This is how the gas gets into your burner.
  • Rest the back end of the burner on the bracket and put the nub into place.
    **There should be a little hole on the bracket where it fits in.
  • Place the new hitch pin into the nub under the bracket to hold the burner securely in place.

That’s all there is to it, folks!! Again, this tutorial will work for any rail-style burner, but for those of you who want specifics here they are, all linked up if you need parts:

Brinkmann models that use the rail style burner

The grill in the video: Brinkmann Pro Series 2400, model number 810-2400-0.
Other models that use three of the exact same burner are:810-2235-0,810-2200-0,810-2210-0,810-2210-1,810-2250-0,810-2250-1,810-2250-2,810-2300-0,810-2300-B,810-2310-0,810-2310-1,810-2320-B,810-2400-2,810-4345-0,810-6305-T,810-6355-T.
The parts used in this video were the burner CITL, and the burner bracket (no longer available), and were provided courtesy of GrillPartsSearch.com.

You can do it!!! -GG

Visit GrillPartsSearch.com’s profile on Facebook.